

When you set a ratchet, socket, nut, or trim clip down during a repair, it should have a place to go. A tool tray helps keep the work area organized, but not every tray works the same way. Two common choices are flexible silicone tool trays and magnetic tool trays.
Both can be useful. The right choice depends on what you're working on, where you want to set the tray, and whether you're trying to organize metal fasteners, full-size tools, or a mix of both.
What's the difference between a silicone tool tray and a magnetic tool tray?
A magnetic tool tray relies on magnetic force to hold compatible ferrous metal fasteners or to attach the tray to a suitable steel surface. That's convenient when you're sorting steel nuts and bolts in one place. Non-magnetic hardware, plastic trim clips, and many tools do not receive the same holding benefit.
A silicone tool tray works differently. It uses a flexible, grippy material and physical compartments to give tools and parts a place to rest. It doesn't require a steel mounting surface, and it won't magnetically attract loose hardware. On a stable, clean work area, this can make it useful on a workbench, cart, or body panel where a mechanic wants tools within reach.
Neither product makes an unstable surface safe. If a tray can slide, tip, or contact a delicate component, move it somewhere secure before starting the job.
Where a silicone tool mat works best
1. During engine-bay and underhood work
Repairs often involve a mix of sockets, picks, small screwdrivers, fasteners, and parts you need repeatedly. Instead of placing them directly on the surrounding surface, use a tray to separate what you've removed from what you're about to reinstall.
Keep the tray away from moving equipment, hot exhaust parts, energized electrical connections, and any location where it could fall. Clean the surface and mat before using them near painted panels.
2. On the workbench or rolling tool cart
Use one compartment for the hardware coming off the assembly and another for the tools you'll need next. That simple separation helps reduce searching and makes reassembly easier. A wider mat is useful when the job involves several tools at once; a smaller tray keeps little items together.
3. In mobile service and small workspaces
When bench space is limited, a portable non-magnetic tray gives you a dedicated staging area without installing a permanent holder. Take only the tools and hardware needed for the current repair, and avoid piling everything into the same compartment.
4. For projects beyond automotive repair
The same sorting principle can help with motorcycle repairs, plumbing fittings, model parts, and small craft components. Choose the tray size for the objects, use a stable surface, and avoid mixing small items that are easy to confuse.
How to choose the right tool mat size
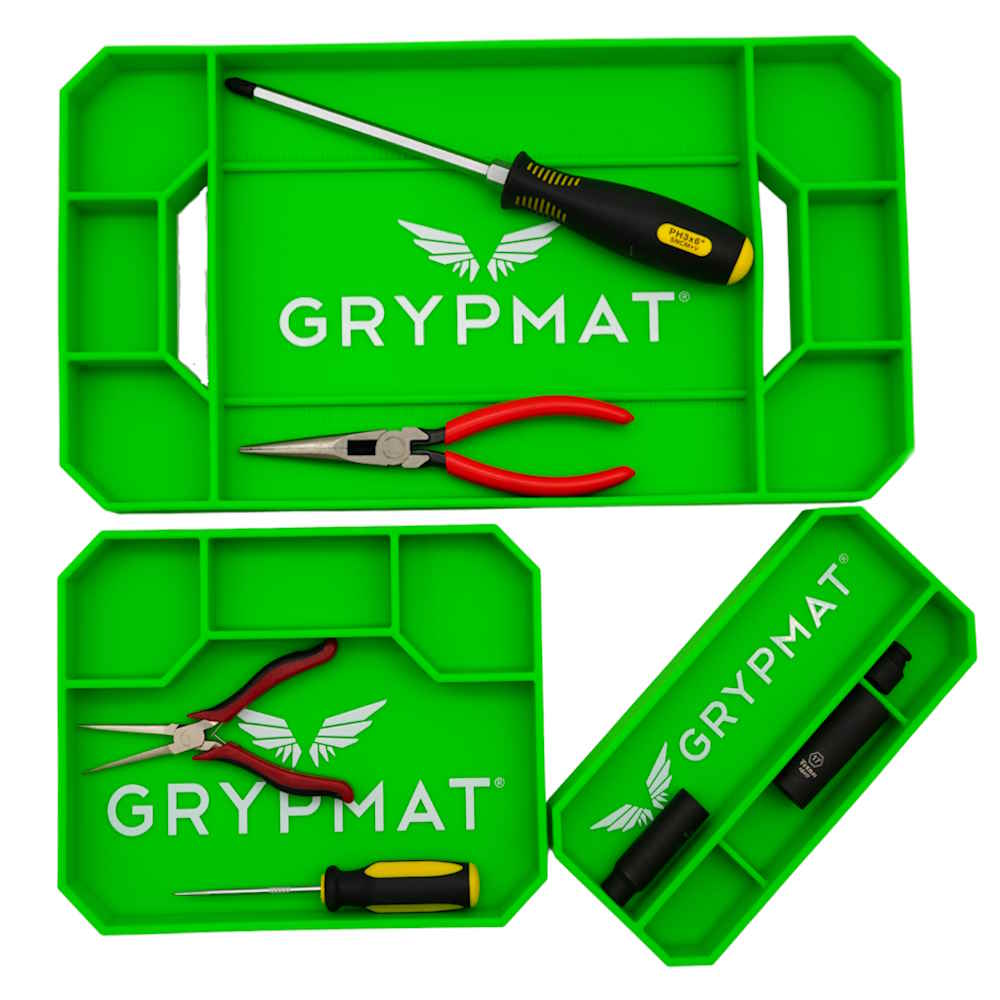
Think about the number of tools you'll stage at once, not just the size of the toolbox. Grypmat Plus comes in single trays and multi-size sets:
| Grypmat Plus | Dimensions (L × W × H) | A useful starting point |
|---|---|---|
| Small | 9 × 4.25 × 1 in | Clips, sockets, bits, and small fasteners |
| Medium | 10.25 × 7.75 × 1.25 in | Everyday small hand tools and loose parts |
| Large | 16.75 × 9.25 × 1.25 in | Ratchets, pliers, extensions, and bigger tool spreads |
| XL | 24 × 12 × 1.75 in | Large work areas and more involved repairs |
The Grypmat Plus DUO combines Small and Medium, the TRIO includes Small, Medium, and Large, and the QUAD includes all four sizes. Check the color and available inventory on each product page before ordering.
Should you organize the toolbox drawer or the work surface first?
Ideally, both. They solve different problems.
- Inside the toolbox: a designated holder for every wrench, screwdriver, and plier makes it quicker to retrieve and put away tools.
- At the job: a tool mat or tray provides a temporary staging area for tools, sockets, fasteners, and parts removed during the repair.
- After the work: wipe down the staging area, account for the hardware and tools, and clean up before moving to the next job.
Toolbox Widget modular organizers address drawer layout, while Grypmat silicone trays address the work surface. They're complementary: one helps keep the toolbox ready; the other helps keep the repair organized.
Five habits that make any tool tray more useful
- Sort as you disassemble. Group fasteners by step or assembly instead of mixing every bolt into one pile.
- Keep the tray close, but not in the way. Don't put it where it could interfere with moving parts, traffic, or electrical and heat hazards.
- Use more than one size for larger jobs. Keep small hardware in one tray and larger tools in another.
- Keep the work surface clean. Dirt or grit between a mat and a finish can still cause marks. Inspect and wipe both surfaces.
- Account for everything before finishing. Reconcile tools and removed hardware before closing an assembly. In aviation or controlled workshops, always follow the applicable formal tool-control and foreign-object-debris procedures.
Frequently asked questions
Are Grypmat tool trays magnetic?
No. Grypmat Plus trays use flexible, non-magnetic silicone. They help organize tools through their shape, compartments, and grippy contact surface rather than magnetic attraction.
Does a silicone tool mat work on an angled surface?
Flexible silicone can conform to some work-area shapes, but grip depends on the surface, cleanliness, loading, and angle. Test placement before setting tools or hardware in the tray; don't rely on it where a fall could cause damage or injury.
What is the difference between a tool mat and a toolbox organizer?
A tool mat creates a temporary place for tools and fasteners while you work. A toolbox organizer stays inside the drawer to assign tools their regular storage positions.
How do I clean a Grypmat?
Wash with mild soap and water, rinse, and allow it to dry before your next use. Inspect it and the work surface before placing it near finished or sensitive areas.
Build a better workstation
If you're starting with a single work area, browse Grypmat Plus trays and sets. For work involving multiple tools and small parts, compare the three-size TRIO with the four-size QUAD. Keep the tool organization flowing through the job, and add Knuckle Scrubber mechanic hand soap when you're ready for cleanup.